Mac Os Sierra Transformation Pack For Windows 7
Even after you’ve calculated billable hours, you’ll still need to generate invoices and stay on top of client accounts. Accurate tracking of billable hours ensures a steady flow of revenue for your law firm or private practice. Tracking billable hours using paper-based methods, or even spreadsheet programs such as Microsoft Excel, can be tedious and time-consuming. What’s worse, these methods create lots of potential for human error. Mac billing software for attorneys.
Hey, sorry for the late reply. I kind of figured it by myself, but the theme was not working properly, so I changed it back. The icons stayed the same as in Windows, the Explorer only had a bit of a changed view, but only 2 icons (for going back) were working.
If your computer using Windows operating system and like the feel and visual style look of Mac OS X Yosemite, now you can download Mac Yosemite transformation pack and change your Windows look to Mac Yosemite. Yosemite Transformation Pack will transform your Windows 8.1 / 8 / 7 / Vista / XP user interface to Mac OS X Yosemite and install like OS X Yosemite Boot Screen, Login Screen, Themes, Icons, Wallpapers, Sounds, Fonts, Dock, Dashboard, Spaces, Launchpad and more on your Windows. Mac OS X Yosemite on Windows 7 / 8 The installation of transformation is pretty easy, which the Mac transformation pack will automatically patches system files to enable installing third-party visual styles.
Before you install this transformation pack, we recommend you create a manual system restore point that allows you revert to the original system state without any issues. How to install Yosemite Transformation Pack: 1. Download the package from Windows X Live and change the file extension from “.zip_” to “.zip” to activate the file. The package will come around 50MB and installation is pretty quick as compared to other themes for Windows. Extract the package and right click the “Yosemite UX 1.o” and select “Run as administrator” to start the installation process. Once the installation is complete, it will display a configuration page to customize the theme.
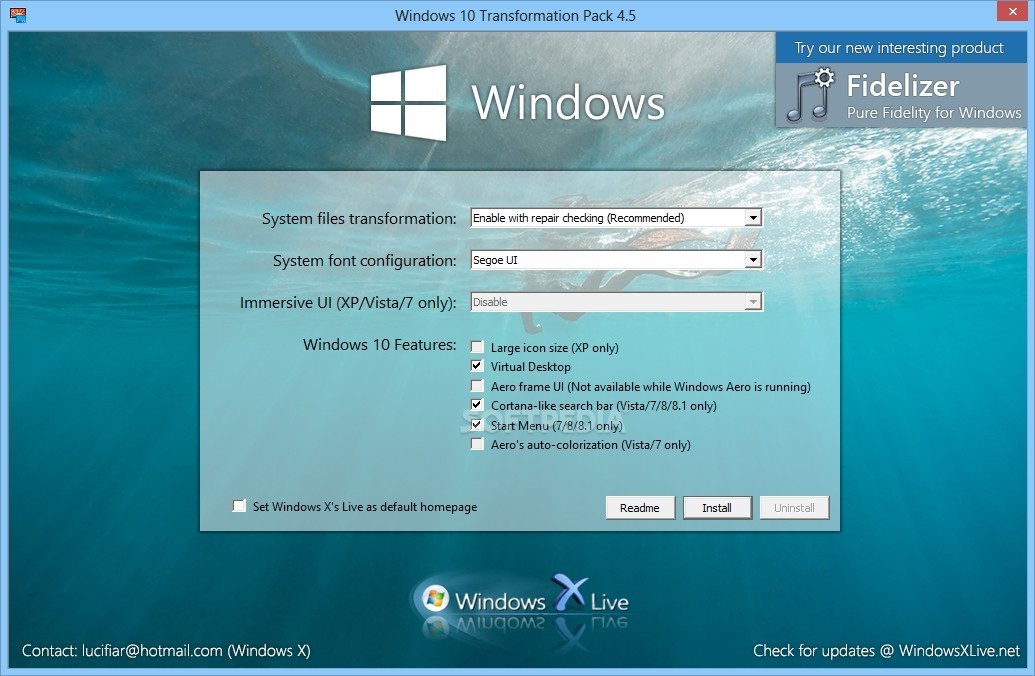
On the configuration page you need to disable the “make Windowsx live the homepage” to get the complete Yosemite look. Reboot your Windows machine to apply the changes. This Yosemite transformation pack will be very useful for old version users to get a new look from their old boring interface. PS: Please note that the Mac OS X Yosemite transformation pack setup attempts to set Windows X’s Live as default homepage of your web browser, so be sure to uncheck the option if you aren’t interested in it.
Now its have macOS Finderbar! This SkinPack dont have any Ads Transform Windows 7/8/8.1/10 to macOS Sierra Support: Windows 10RS2/8/8.1/7 [X86_X64] - [All Language] - [All Version] Changelog: Version 2.0 add macOS Finderbar System requirements: Installed Microsoft.NET Framework 4.5 Processor: 1 GHz or higher Memory: 512 Mb of RAM or higher Note: Please unistall old or other version of skin packs before install new one. If your theme not changed or its like classic windows you need to install uxtheme patcher from here: and after restart select new theme from personalization. You’re advised to Create a System Restore Point before installing skinpack.If you have problem with install or uninstall skinpack, please check our help page.