Raspberry Pi 3b Emulator Mac
Updated for Raspberry Pi 1, 2, 3. And 3B+ No Raspberry Pi is included. Raspberry Pi 3 Model B+ (B Plus) based retropie retro games emulation system - 32GB edition by Crisp Concept Inc.
There are number of Raspberry Pi models, the latest is Raspberry Pi 3B+. It is the most powerful model with onboard Wi-Fi and Bluetooth and a 64-bit processor (ARM Cortex-A53), that makes it one of the most affordable credit card size computers. Among lots of things you can do with this device, and on of them is intalling different operation systems, for instnce you can install Android TV on Raspberry Pi. I’ll give step by step instruction how to do it. Note: This installation guide is for Linux OS, but the same way you can install it on Windows or Mac OSX. Please note that the Android TV collection we are using is not stable, and some applications may not work properly. For those who do not know Android TV (previously known as Google TV) is version of the Android OS developed specialy for TVs and multimedia devices.
More information one can find on the official website of. You can watch thess videos to see what are how does this OS looks and feels on Raspberry PI: Instuction on installing Android TV on Raspberry PI Step 1. First of all download Android TV image from here Step 2. Unzip it somewhere on your pc, you’ll get a file with.img extension.
You have to rememver the place where you’ve unzipped the image. Insert the micro SD card and format it FAT 32 Step 4. In your terminal.
Enter the following command to find out the location of the micro SD card: sudo fdisk -l The format of output will be “/dev/sdX”. In my case it is in “/dev/sdc”. Output of sudo fdisk -l Step 5.
We are almost ther) Execute next command in your treminal to burn image on your SD card: dd if=/location/to/androidtv-image-file.img of=/dev/sdX /location/to/androidtv-image-file.img – it is the location of your image (see Step 2) /dev/sdX – in fact it is the address of your SD card For example command may look like this: dd if=/home/r2d2/atvrpi320160530.img of=/dev/sdc Step 6. After the image is copied, remove yout SD card, insert it into Raspberry Pi and turn the power on. As a result You will see Android TV loading screen.
Next time I’ll explaine how to configure Android TV. If you have some question or suggestion your comments are welcome!
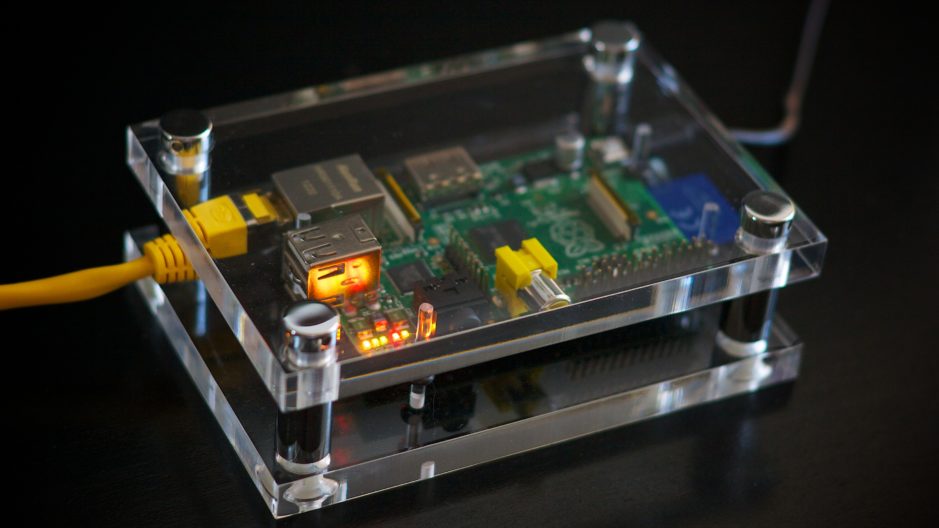
Considering their inability to meet consumer demands, one might think that Nintendo uses ground unicorn horn in the manufacturing of their hardware. Perhaps you were unable to get your mitts on a SNES or NES classic. Or maybe you are just thinking the price tag is too high for paltry 20-some-odd games. Well, there IS another option. For less than the cost of a Nintendo classic system, you can build a Raspberry Pi system that'll play all the retro games your heart could possibly desire. I built my own and slapped that puppy in an old NES case and it's everything I hoped it would be and more. I have it loaded with every NES, SNES, Master System, and TurboGrafx game ever released.
Farsi Fonts For Mac Free Software MacX Rip DVD to iPhone for Mac Free v.4.1.9 MacX Rip DVD to iPhone for Mac Free Edition is an easy-to-use and totally free DVD to iPhone ripper for Mac which can help you quickly and freely rip DVD movies to iPhone and convert DVD to iPod on Mac OS with zero quality loss.  I have Mac Mountain Lion, using LibreOffice word processor set up for R-to-L. Geeza Pro (default Persian font, I believe) works fine. However, Roya, Nazli, IranNastaliq are not connecting the individual characters. Not with Word. Word for Mac has never supported Farsi or any other RTL script. Mellel is the best app for that, but you can also use TextEdit, OpenOffice, Nisus Writer, and many others. Pages is too buggy. If Persian is set as the default for your documents, the language name will show there. If some other language is shown there, choose Tools>Language in Word, choose Persian, click on the Default. Button at the bottom of the dialog and click on OK when Word asks if you want to switch the language.
Quite simply, I love this handcrafted retro gaming powerhouse and you can have one as well. The following article hopes to help guide you down the path to your first Raspberry Pi retro emulation system.
• • • • • • Note: There a myriad of ways to get your system up and running. This is simply the method that most reliably and repeatedly works for me. What you need • A Raspberry Pi: Either the or the. The biggest difference between the two is that the 3-B has built-in Wi-Fi and the 2-B does not. • A Micro SD card: I use a which affords me all the space I need. If you order from Amazon, it's suggested that you choose an SD which is listed as 'Ships from and sold by Amazon.com' to avoid inferior counterfeit cards. • A micro USB power supply to power your Raspberry Pi.
You can even pick one up with a for easy on and off. • An HDMI cable to hook up to your TV or monitor.
• A USB Keyboard for use during setup. • A USB game controller: You don't have to, but it just doesn't feel real unless you have the right controller. Of all the USB controllers I have tried the has the best feel I have encountered thus far. • A case to house your Raspberry Pi: I actually modified an old NES case to serve as mine but you can use something as simple and as low profile as.
If you're looking for something with a bit more retro flair but you're not ready to mod an original case you could pick an awesome retro-styled case from Amazon. You can get the NESPi Retroflag case for only $25, which features a functional power button and USB ports where the original case had controller ports. If you like the look of the SuperNES, then you can get yourself a Kintaro SNES case for a mere $15. • • On your computer: Setting up the image on the SD card • Go to and download the 'Raspberry Pi 2/3' image. Make sure to remember where you save it! • Go to and download the correct version for your system, then install.