How To Insert Column Break In Word For Mac 2017
Word’s built-in Clip Art Gallery contains dozens of images that act as lines. Open up INSERT > CLIP ART, and search for LINES. For more choices, when you have an Internet connection, INCLUDE OFFICE.COM CONTENT. (Note: these commands may be different depending on what version of Word you’re using). Insert any of the images. If it doesn’t extend across the page, use any of the RESIZE HANDLES to make it larger — but keep in mind that these are images, so if your line image is extended longer than its original dimension, it may become fuzzy. Free dubstep software download for mac. Use any of the features on the PICTURE TOOLS > FORMAT Tab to change the color, shadow, style, and effects of the line image.
To remove a Shape, click on it, then press DELETE on your keyboard. Add Bottom Borders.
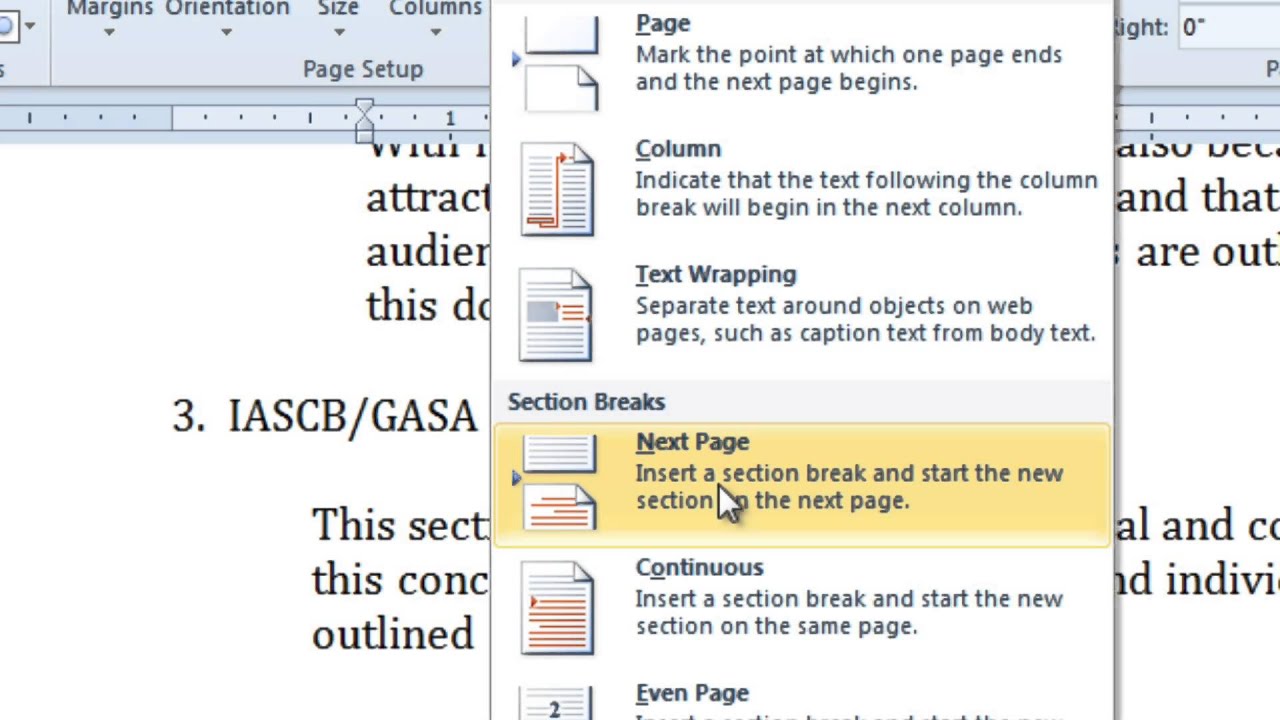
To insert a column break in Word, place your cursor in the column where you want to insert the break. Then click the “Layout” tab in the Ribbon and click the “Breaks” drop-down button. Select “Column” from the list of options that appear. Table setting for ‘Allow row to break across pages’: Select the table row, right-click and select Table properties. Go to the Row tab, and see if Allow row to break across pages is checked or not. If it’s not, a row with a lot of information will start on a new page instead of splitting across the page break.
This technique works best on Headings. Click in the paragraph of text you want a line under. Click on the HOME Tab > BORDERS button — Bottom Border is usually the default. This places a line across the page, underlining not just the text but the rest of the row, too.
 Click on BORDERS AND SHADING, the last option on the drop-down list, to refine the weight and color of this line. When you press Enter at the end of the paragraph, this border may extend down to the next row, an effect you probably don’t want. To remove a bottom border, use the CLEAR FORMATTING button on the HOME ribbon, and the border returns to the desired text. Click on the INSERT RIBBON > SHAPES button. On the drop-down gallery, the second section has a series of lines. Some have arrowheads; others have bends and angles.
Click where the line begins, and drag to where the line ends. To keep the line straight, hold down the SHIFT key while dragging. Upon letting go, each line has a resize handle at the beginning and end to change the dimension. Lines that have curves and bends also have adjustment diamonds to refine the angles. Use the DRAWING TOOLS > FORMAT ribbon to stylize the line’s color and special effects. To remove a Shape, click on it, then press DELETE on your keyboard.

Did you love this trick? We have more! The default Table of Contents, when created properly, will do that automatically. First, use the Styles to format the Heading 1, Heading 2, Heading 3 content.